Are you frequently capturing screenshots on your Macbook, or are you wanting to capture a part of the screen to share with someone else? You’re in luck because we’ve compiled a list of the simplest methods for taking screenshots on your Mac. With a little practice, you’ll be able to capture everything life throws at you!
How To Take Screenshots on Macbook
Screenshot whole screen

Use the following key combination to capture the full screen:
- Press “Shift + Command (⌘) + 3“.
- The screenshot will be saved on your desktop.
This will allow your Mac to capture a screenshot of everything on the screen and store it on the desktop as an a.png file. When you’re done, hit ‘Shift + Command (⌘) + 3‘ once again to stop taking a screenshot. You may also copy the image to the clipboard and paste it wherever you like by pressing ‘Shift + Command (⌘) + Control‘.
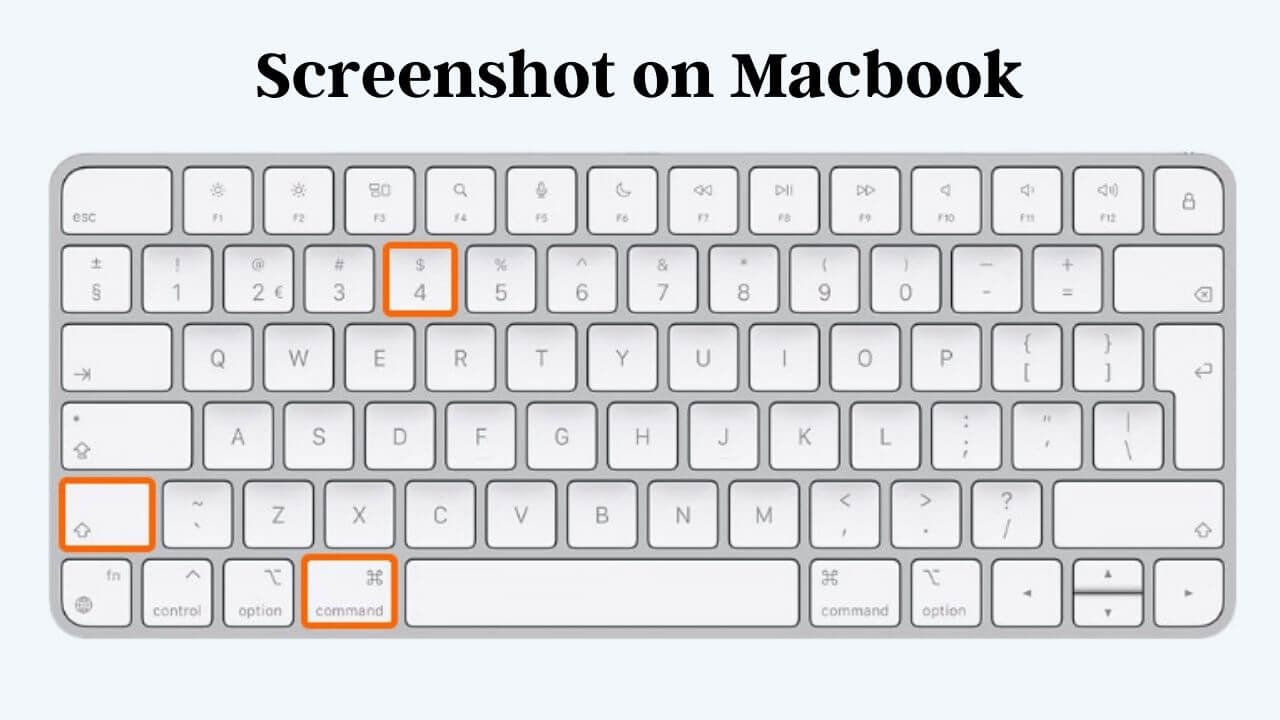
Capture selection of the screen

If you wish to capture a screenshot of a manual selection of the screen, follow these steps:
- Press “Shift + Command (⌘) + 4“.
- The mouse now turns into a cross.
- Hold down the left mouse button in the place you want to start your selection and drag the cross over the screen.
- At the end of your selection, you release the left mouse button.
- The screenshot will be saved on your desktop.
Screenshot a window of the screen

If you wish to capture a certain open window, use the following key combination:
- Press “Shift + Command (⌘) + 4“.
- Press the spacebar, which turns your mouse into a camera.
- Use the mouse to click on the window that you want to take a screenshot of.
- The screenshot will be saved on your desktop.
Screenshot with The Third-Party Software

To take screenshots, you can use third-party apps from the App Store. These tools are intended to assist users in capturing material and sharing it with others.
There is a Screenshot app in macOS Mojave. Extra tools are available in this software. To launch the app, use the following key combination:
- Press “Shift + Command (⌘) + 5“.
From left to right, the icons in the app mean the following:
- Capture the entire screen
- Capture a window
- Capture part of the screen
- Record the entire screen
- Record part of the screen
How To Screenshot On Macbook Pro
Simply press ‘Command (⌘) + Shift + 4‘ on your Macbook Pro to snap a screenshot. This will send you to the same menu as before, except it will be coloured caramel this time. This is because it is a Mac Pro, which you are most likely aware of. Select an option and press ‘Command (⌘) + Shift + 4‘ once more (again).
How To Screenshot On MacBook Air
Pressing ‘Command (⌘) + Shift + 4‘ on your MacBook Air will bring you to the same menu. Select “Save to Camera Roll” from the drop-down menu. Refer to the above article for further information on these important places.
Conclusion
On your Macbook, there are several quick and simple ways to snap screenshots. You can capture anything using these methods, including documents, webpages, emails, and more! Try one of them out right now to get the most out of this fantastic device!