Are you looking to capture the screen on your Mac device? Whether you’re aiming to save important information, share memorable moments, or troubleshoot technical issues, knowing how to take screenshots on your Macbook can be incredibly useful. In this tutorial, we’ll explore multiple methods to screenshot on Mac effortlessly.
1. Capture Your Entire Screen

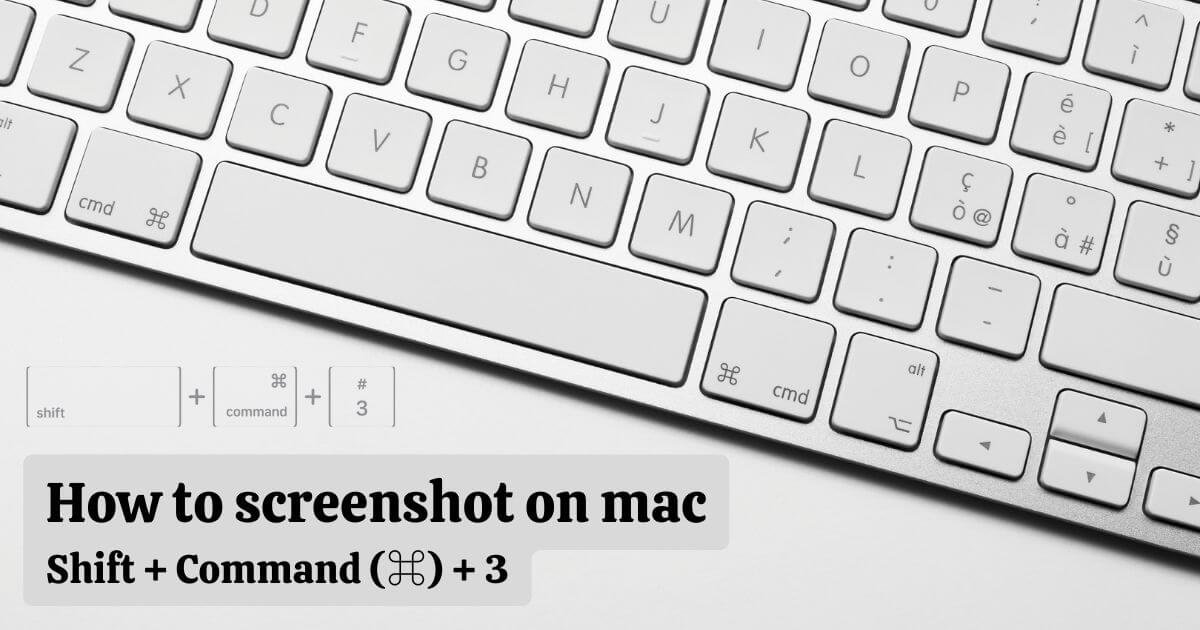
The quickest way to capture your entire Mac screen is through a keyboard shortcut:
- Press Command (⌘) + Shift + 3 simultaneously.
- Your screen will flash momentarily, indicating the screenshot has been captured.
- Find your screenshot: It will be saved automatically on your desktop with a filename like “Screen shot 2024-02-28 at 03.19.18.png”.
2. Capture a Specific Window

To capture a specific window on your Mac, follow these steps:
- Press Command (⌘) + Shift + 4 keys together.
- Your cursor will transform into a crosshair. Select one of the following options based on your preference:
- Capture the entire window: Click directly on the desired window.
- Capture a portion of the window: Drag the crosshair to select the specific area you want to capture. Hold the Space bar while dragging to reposition the selection without changing its size.
- Capture the screenshot: Release the mouse or trackpad button. The captured image will be saved on your desktop.

3. Capture a Portion of the Screen

To capture a specific rectangular area of your screen, follow these steps:
- Press Command (⌘) + Shift + 4 keys together.
- The cursor will transform into a crosshair. Drag the crosshair to define the area you want to capture.
- Capture the screenshot: Release the mouse or trackpad button. The captured image will be saved on your desktop.
4. Capture the Touch Bar (if applicable)

If your Mac has a Touch Bar, you can capture it along with the screen using:
- Press Shift + Command (⌘) + 6 keys together.
- To capture only the Touch Bar, press and hold the Option key while pressing the above key combination.
- The captured image will be saved on your desktop.
5. Accessing and Editing Screenshots with Screenshot Utility
Beyond keyboard shortcuts, you can utilize the built-in Screenshot utility for more advanced options:
- Go to Applications > Utilities > Screenshot.
- Choose the capture method, Click the desired capture mode (entire screen, window, selection, etc.).
- Customize options (optional), Click the “Options” button to set preferences like including the mouse pointer, choosing the save location, or adding a delay before capturing.
- Click the “Capture” button or use the corresponding keyboard shortcut displayed next to the capture mode.
- Edit the screenshot (optional): A thumbnail of the captured image will appear in the corner of your screen. Click on it to open a quick editing window where you can crop, annotate, or share the screenshot.

Bonus Tip:
If you prefer mouse clicks to keyboard shortcuts, navigate to System Preferences > Keyboard > Shortcuts > Screenshots. Here, you can customize keyboard shortcuts for various screenshot functions.
By mastering these methods, you’ll be able to capture any part of your Mac screen with ease, enhancing your productivity and communication.
Using Third-Party Apps
There are numerous third-party applications available for advanced screenshot capabilities, such as annotating screenshots, capturing scrolling windows, or scheduling captures. Some popular options include Skitch, Snagit, and Lightshot.
Conclusion
With these easy-to-follow methods, you can effortlessly capture screenshots on your Macbook for various purposes. Whether you prefer using keyboard shortcuts, the Touch Bar, the Preview app, or third-party software, there’s a method suitable for everyone. Experiment with these techniques to find the one that best fits your workflow and needs.
Now you’re equipped with the knowledge of how to screenshot on Mac Book like a pro!
Remember, practice makes perfect, so don’t hesitate to experiment and explore further functionalities to enhance your screenshotting experience on Mac.
Frequently Asked Questions (FAQs)
Can I customize keyboard shortcuts for screenshots on Mac?
Yes, you can customize keyboard shortcuts in System Preferences.
Are there limitations to using the Preview app for screenshots?
Yes, Preview has basic features; for advanced options, consider third-party apps.
Can I use Method 2 if my MacBook lacks a Touch Bar?
No, Method 2 is specifically for MacBook Pro with Touch Bar.
Are there any recommended third-party screenshot apps for Mac?
Yes, Skitch, Snagit, and Lightshot are popular choices.